Saturday, April 12, 2014

Murphy's Law

Today I was going to do it; I was finally going to attempt my first mini-album and work along with Kathryn Kreiger's Crop Out Cancer event. I pre-cut all my paper. I pre-cut all my chipboard. I messed up my punched tabs and had to re-do but since I was doing this the day before the event, I got to re-do them and not get behind. I even pre-scored my pieces so that if I messed those up (scoring and I don't get along) I wouldn't have to re-cut while Kathryn got ahead of me during the class.

The one thing I didn't do? I didn't pre-tape all my pieces. And you guessed it, about thirty minutes in to the three and a half hour class, I ran out of double-sided tape.


You can be sure that in the future, I will make sure I have plenty of Scor-Tape or Miracle Tape on hand before I start a project because I did continue on with the class, using Scotch Quick Dry glue instead. There's a reason they tell you not to use glue on paper and I found it out today. It makes the paper wet and wavy and does not dry in nice, flat pieces - no matter how evenly you try to spread it.


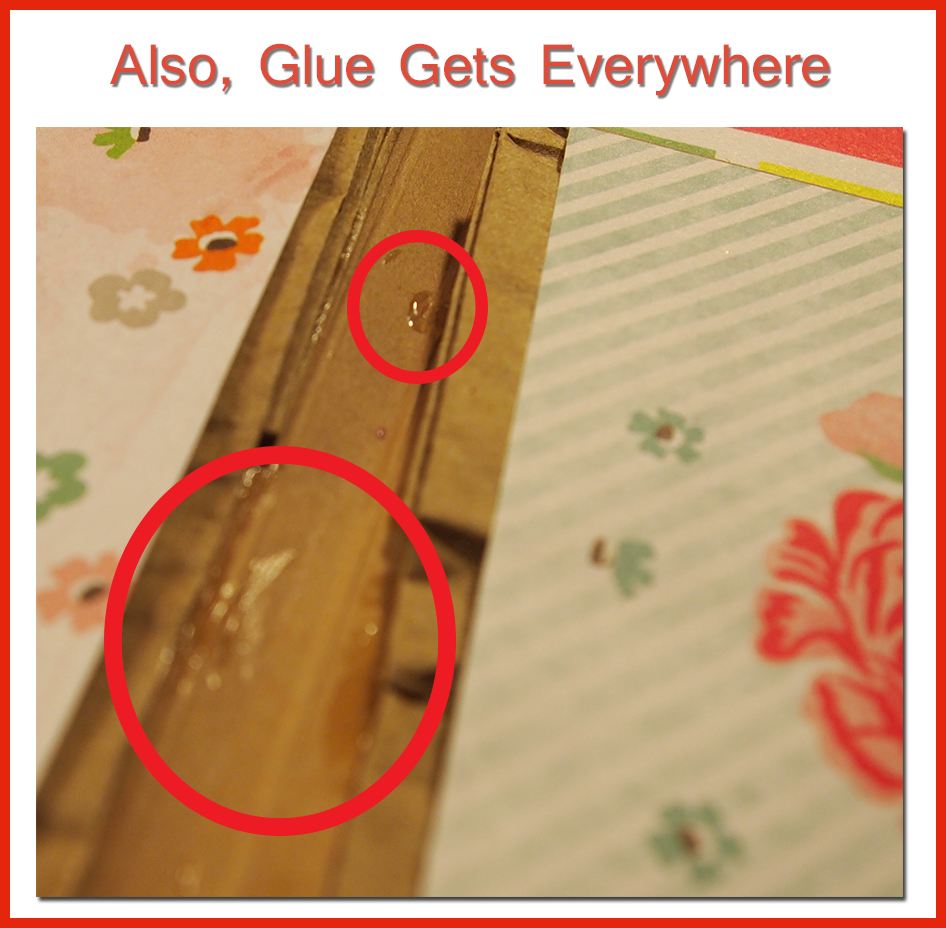
Also, the glue gets kind of everywhere. And you don't always see it to get it off before it dries.


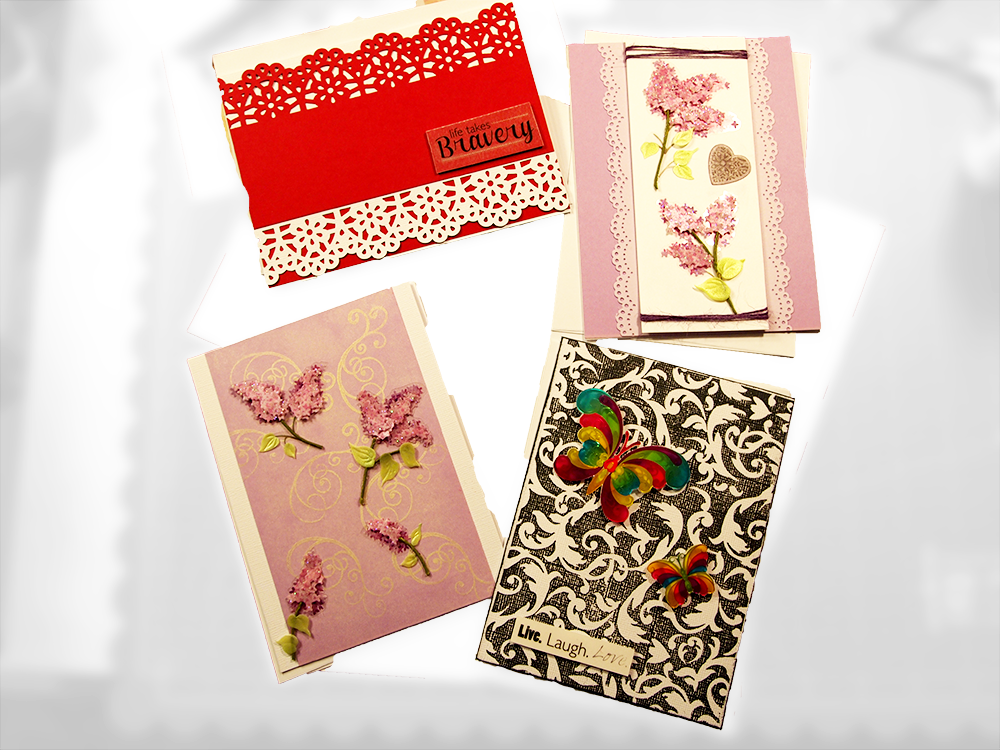
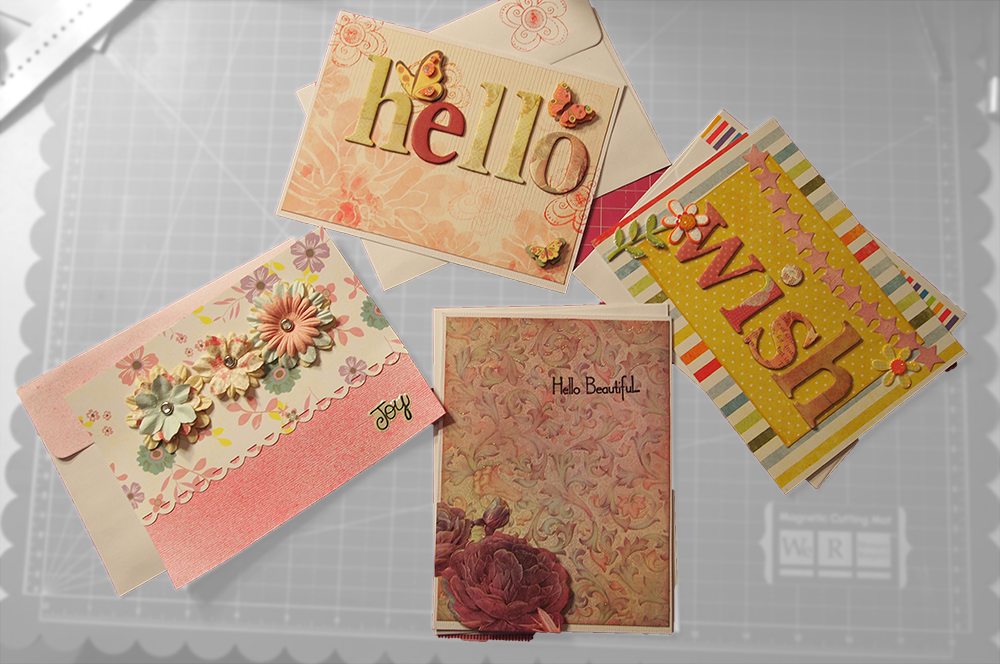
So I have the experience of making my first album - minus the cover because a migraine hit before the class finished, but I have my manual, so I can finish that up later if I want to. But I also have the experience of learning what not to do when making an album. And how bad it can look when you do it wrong.


So now you know some of the things not to do. When I get it right, I'll be sure to let you know. These are the adventures of a newbie scrapper, helping you not to make the mistakes I do.


Friday, April 11, 2014

Experimental Mode

I wanted to try some different techniques, so here are some more cards I've made for friends. The last two were made with very specific people and purposes in mind, so they're a bit different from the rest. These have all gone out in the mail; I'll work on the next batch when my grandson goes home - it's a bit hard to work when a three year-old wants to help.


This first set were made to try out different colour combinations and pearl effects and to see if I could get those butterflies to look like stained glass if I mounted them on vellum paper and then popped them up with foam dots to let the light shine through. I think it came out pretty well.


 This next set were made for specific people where I wanted a particular sentiment on the card.

I was also experimenting with colour combinations and embellishments.


These last two were made for my son (the purple one) and a friend I wanted to thank. I love those silver and black swirl stickers. I bought two packs of them and I'm going to do some experimenting to see what effects I can achieve with them.


Sunday, April 6, 2014

If You Want To Know What Nervous Looks Like...

This is actually my second set of cards. I mailed out the first set (well, the ones I didn't toss in the trash) without taking pictures of them because... well, because it just didn't occur to me to take pictures of them. But them some friends asked, so here they are.

While I do not mind constructive criticism, please remember that I am bipolar and on a down cycle before you get too "constructive". If you can't think of anything nice, its probably best not to say anything at all. (Especially if I know where you live.)

PS: I seriously suck at photography.

:takes a deep breath:  :closes eyes:


Thursday, April 3, 2014

Ouches and Organising


I have discovered that working on my scrapping at a table surrounded by shoe boxes full of supplies all around and on the floor is a ticket to shoulder and neck pain. So I'm going to have to get my craft room organised and get a higher table that I can stand at as I work.

We (my husband and I) are going to start by painting the room my favourite shade of lilac. Then my husband is going to build the modular shelf system that I devised so that I can add shelves and cubbies as my stash grows. I will post pictures of the before and after. The process itself will be chronicled on my website A DIY Home.

One problem that occurred to me was whether to paint or stain the 14"x28" cubbies that we're going to build. I wanted to paint them white so that any paints or papers will show as their true colours, but I didn't want to have scraped and chipped paint from where I was pulling things out to use them. And then the fates handed me a miracle. We often shop at the Habitat for Humanity Re-Stores, where they sell products left over from construction, and anything that was donated that wasn't usable to them. Someone had donated two pallets, five feet high, stacked with spray cans of car paint enamel. This is one of the most durable paints you can buy and very expensive (my husband and I used to do body work on cars to make extra money, so we've bought quite a bit of car paint in our time).


The problem was that each can was made for the paint for a specific make and model of car. So, while they ad plenty of white (most of then at the bottom of the pile), there were at least eight different shades of white, with the car make and model listed on the front. We spent quite a while with my husband shifting boxes while I found eighteen can of white that matched. Well, ten matched and the other eight match each other and the two colours are very close.

Since car paint is super chip-resistant, these shelves should look good for a long time.

Now, if you'll excuse me, I have to go open my new boxes of craft supplies.